DISTRIBUTOR-FIRST SUPPLY PARTNER · SINCE 1999 Live · Pneumatic Automation System
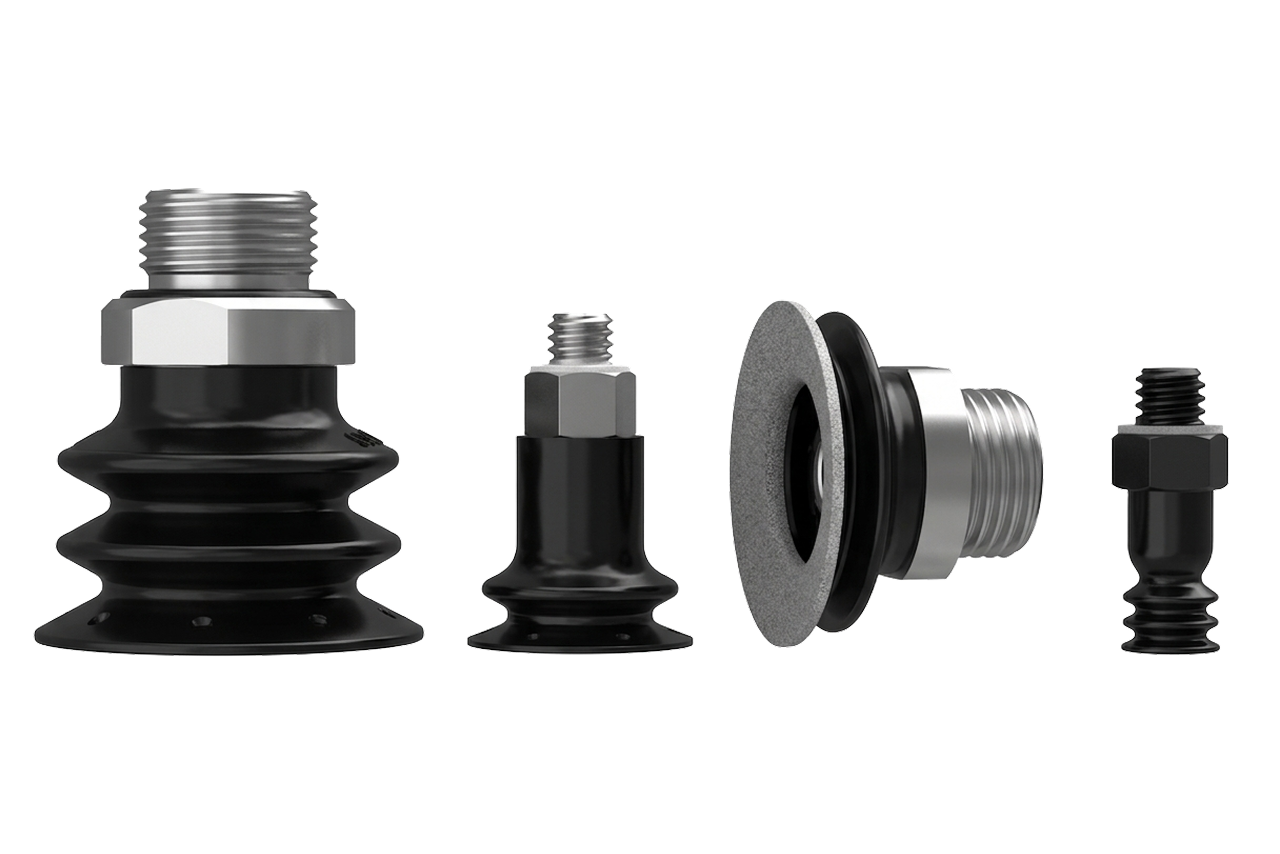
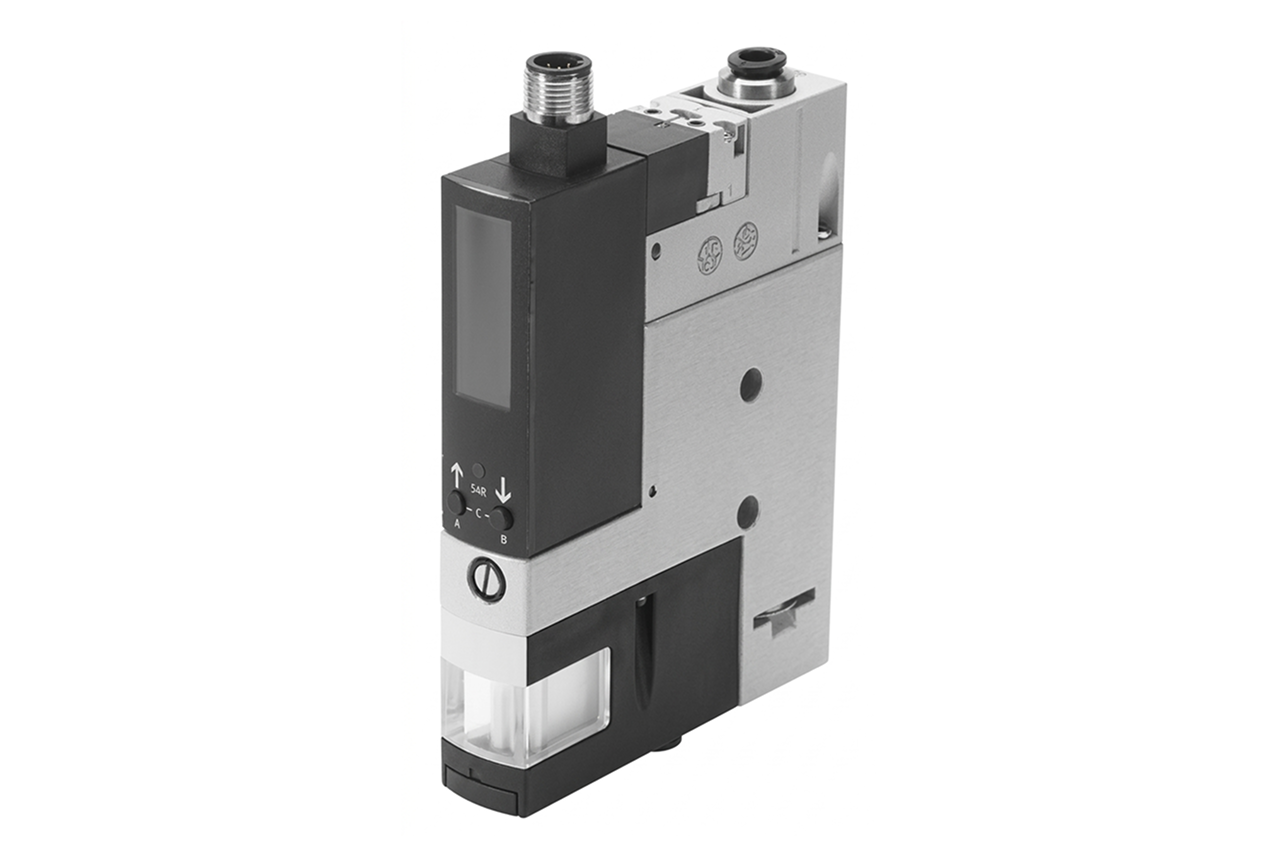
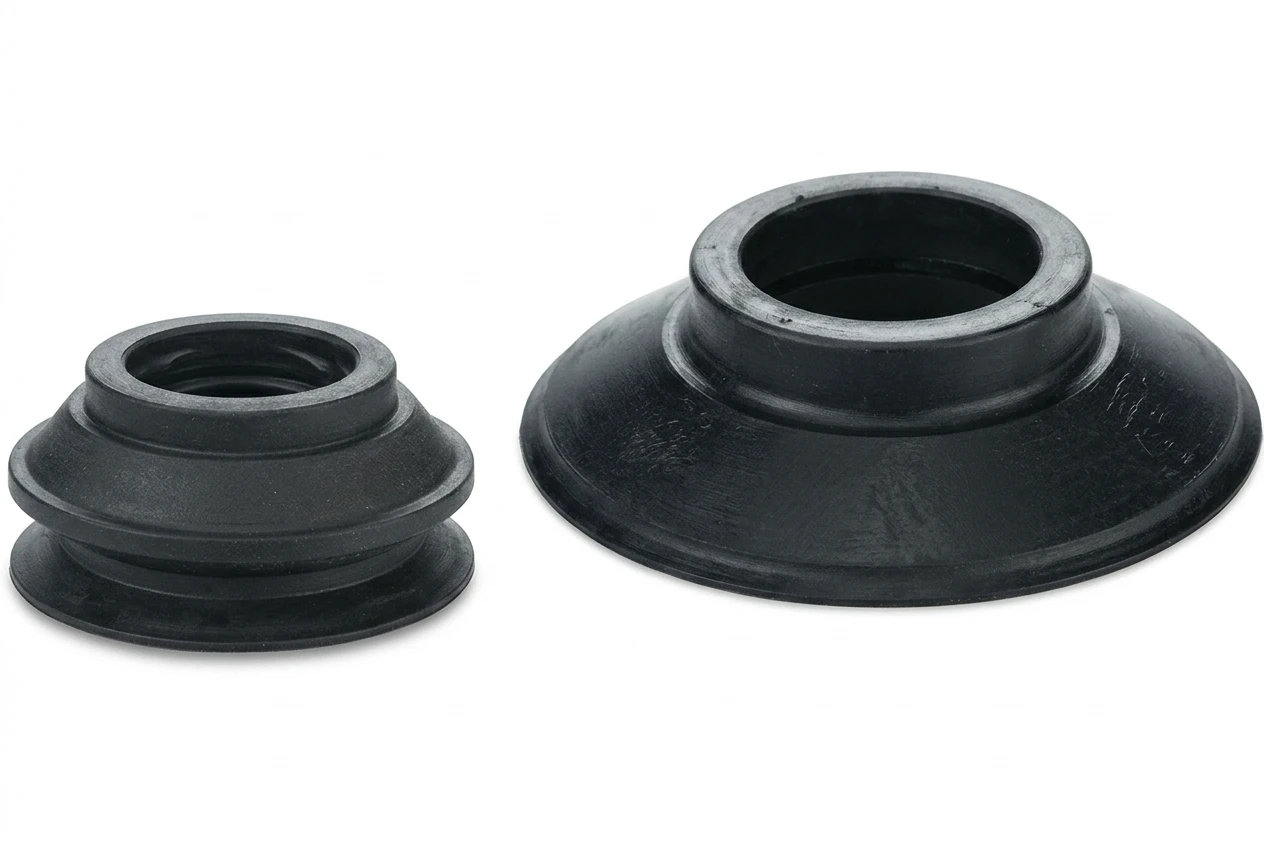
A vacuum cup (suction cup) is the gripping interface between the vacuum circuit and the workpiece — the one component in the entire end-effector sub-system that actually touches the part. It is one quarter of the vacuum end-effector sub-system: ejector + suction cup + vacuum sensor + replacement cup, sold and quoted together as the working unit. The cup mounts on the EOAT (end-of-arm tooling) plate via a stem or push-on fitting, and the ejector lowers the pressure inside the cup so atmospheric pressure (~14.7 PSI) holds the part against it. Holding force = vacuum level × sealed cup area, so cup style is sized from surface geometry and cup count is sized from workpiece weight.
Tips and pointers on picking the right cup for the part — and when no cup will do the job. Scroll the strip →
Flat for smooth rigid stock (sheet, glass, panels). Bellows for curved or uneven parts — the convolutions accommodate height variation. Flat-with-lip for cardboard and bags; oval for long narrow workpieces a round cup can't span.
Force = vacuum level × sealed cup area. A 40 mm flat cup at 80% vacuum on smooth steel holds ~20–25 lbs vertically. Apply a safety factor: 2× smooth horizontal, 4× rough/porous, 8× vertical or overhead.
Every other sub-system component runs for years; the cup fatigues in 3–12 months. Low-dollar item, high-consequence failure mode — a worn lip leaks, vacuum sags, the part drops. Replace on calendar, not on failure.
Nitrile (NBR) for oily metal and general industrial. Silicone for hot parts, food-grade, and delicate surfaces. Urethane for abrasive high-cycle work (press feeds). EPDM for outdoor UV and ozone. Fluorosilicone/FKM for aggressive solvents.
A flat cup leaves a partial seal on any non-flat surface; the rated force evaporates. → Switch to bellows cup for curved surfaces — the convolutions compensate for geometry and recover the catalog hold force.
Cardboard, corrugate, and bagged product bleed air across the fiber the moment the lip seats — a flat cup leaks faster than the ejector can compensate. → Foam-rim or flat-with-lip cup for porous parts, paired with a multi-stage ejector to outrun the bleed.
Nitrile cracks above its rated temperature, fails FDA audit on food contact, and swells in cutting oils. → Re-spec to silicone for hot/food, fluorosilicone for aggressive chemistry, EPDM for outdoor/UV — wrong elastomer fails in weeks instead of months.
From the machine spec sheet → to the part number. Answer what you know — leave the rest blank — and send.
Most distributors sell one brand per product type. SPC's 60-brand portfolio means every Product Type page surfaces three real options matched to how your customer is buying today. Pick the tier; the quote desk handles the cross-reference.
The cup is the only part of the vacuum circuit that touches the part. Whoever specifies the right cup for the surface wins the line; whoever picks the cheapest cup off a table loses every time.
Each industry below uses this product across the listed areas. Open an industry to see how it fits the rest of its system.
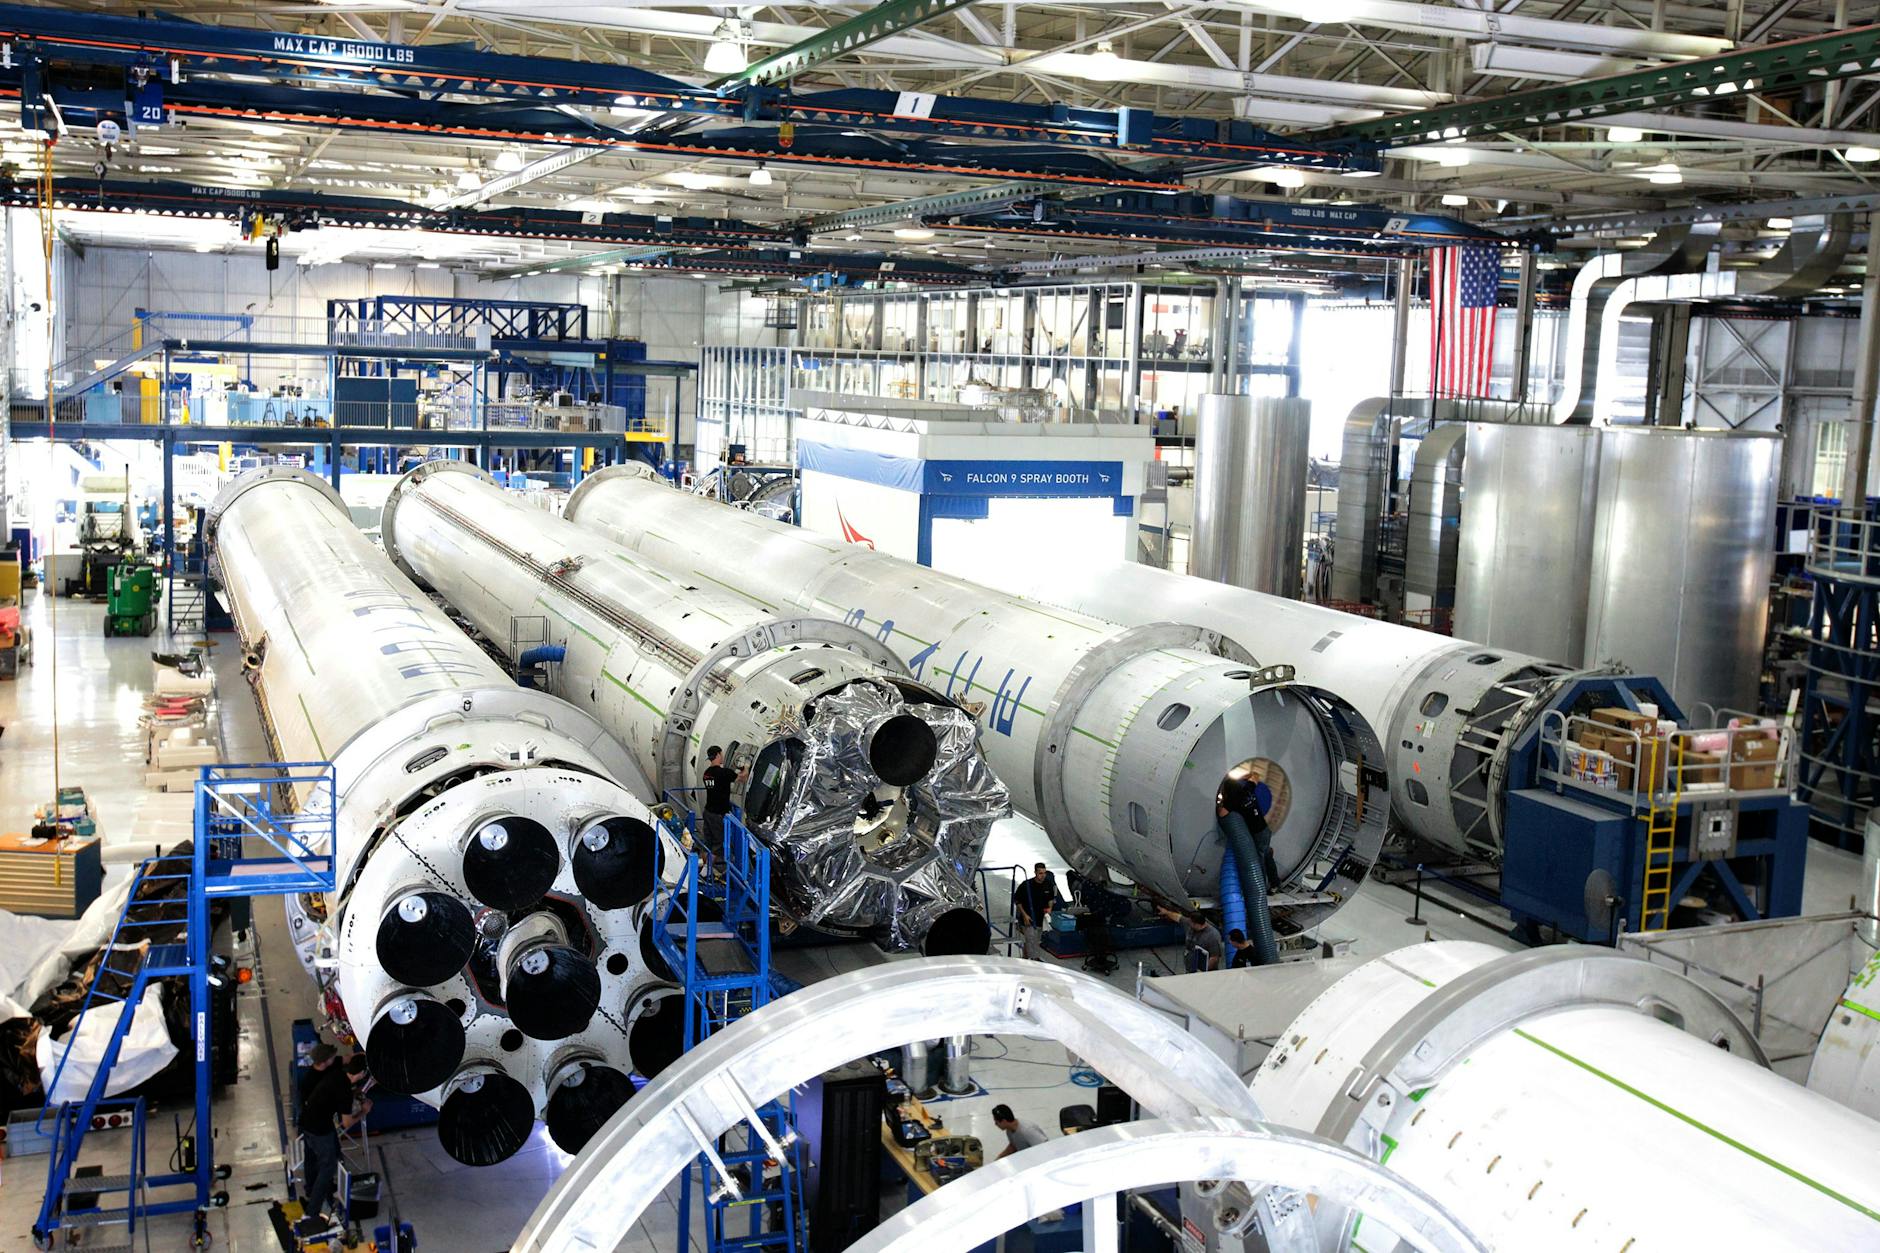 Aerospace & Aviation →
  Pharmaceutical, Medical Device & Laboratory →
 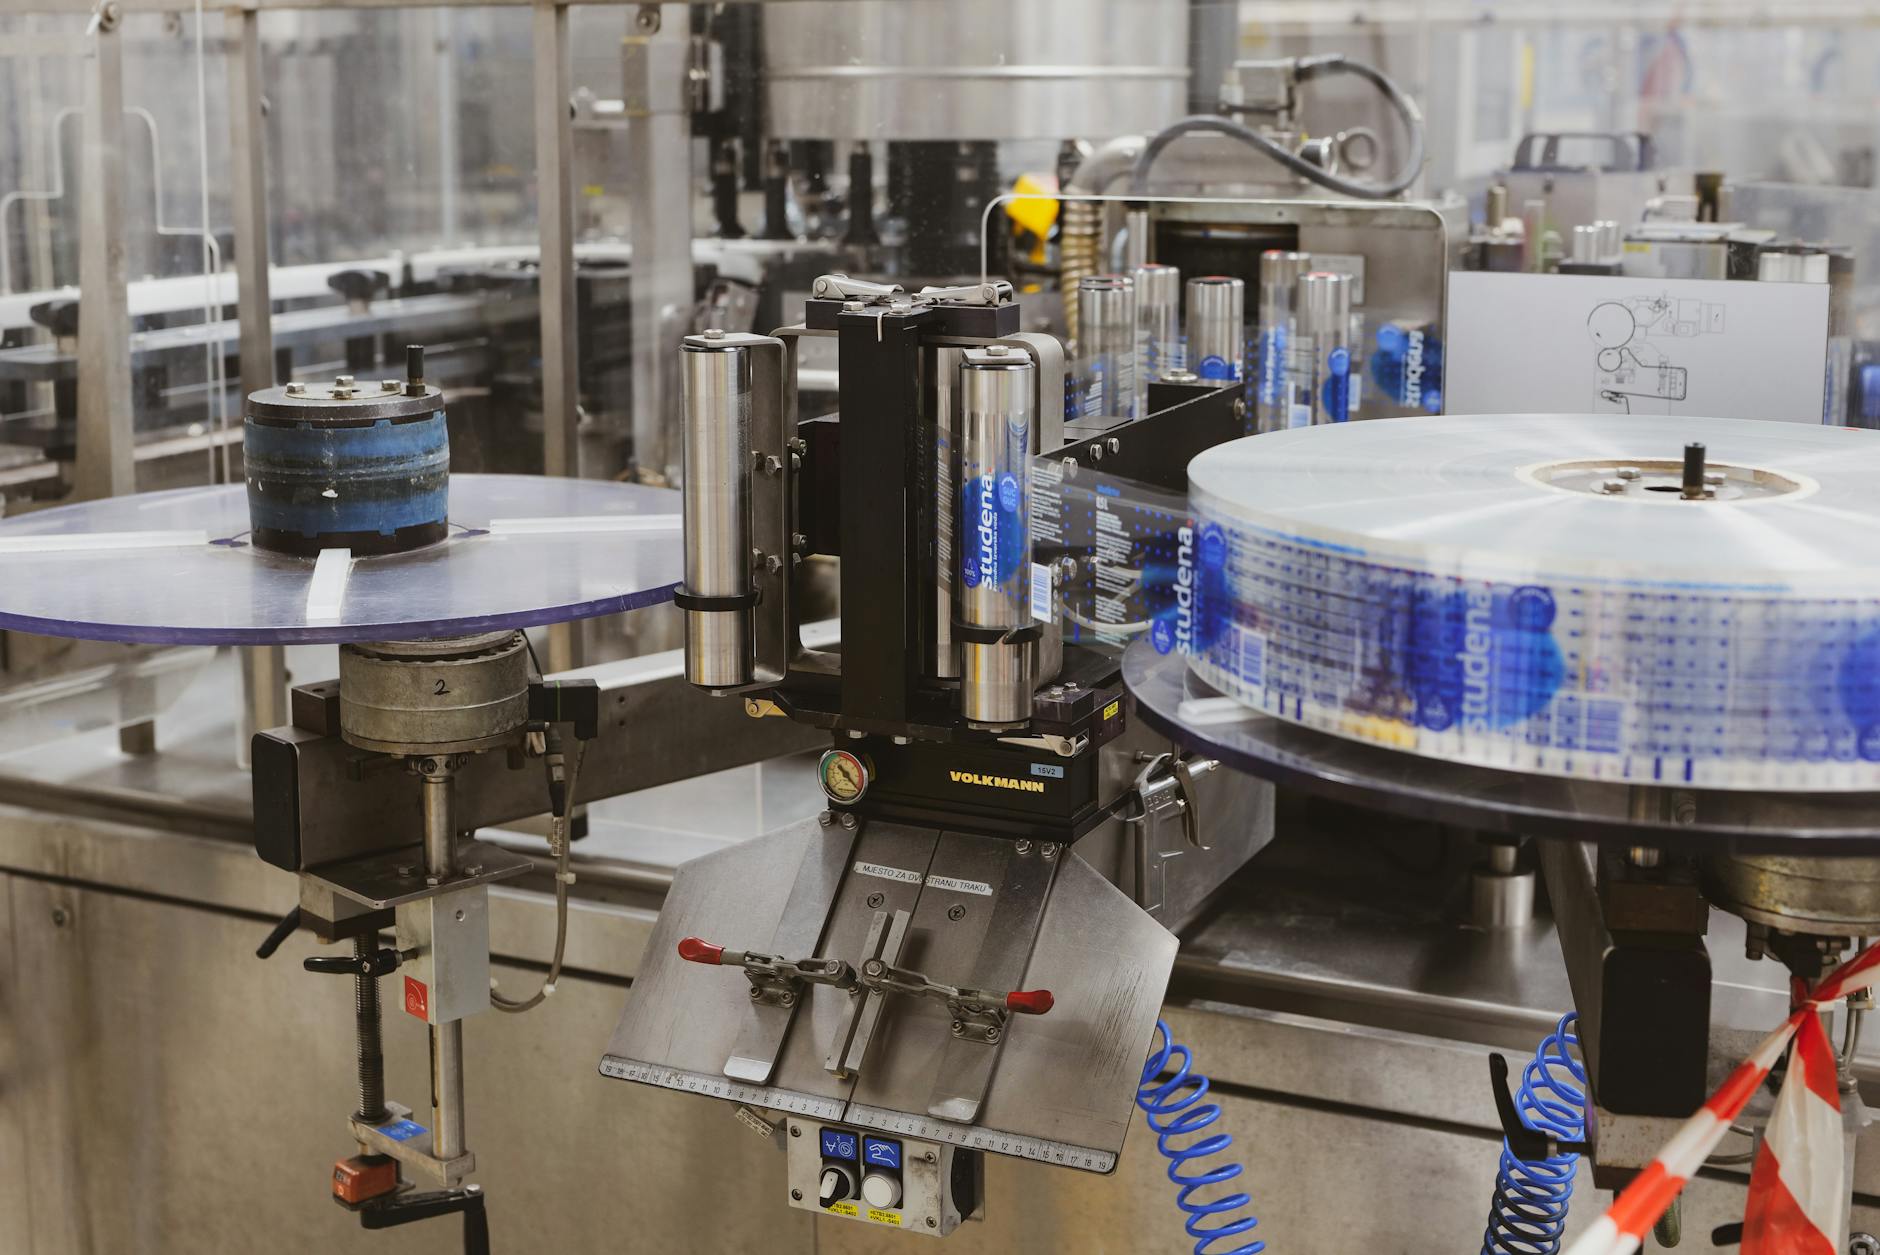 Packaging & Printing →
 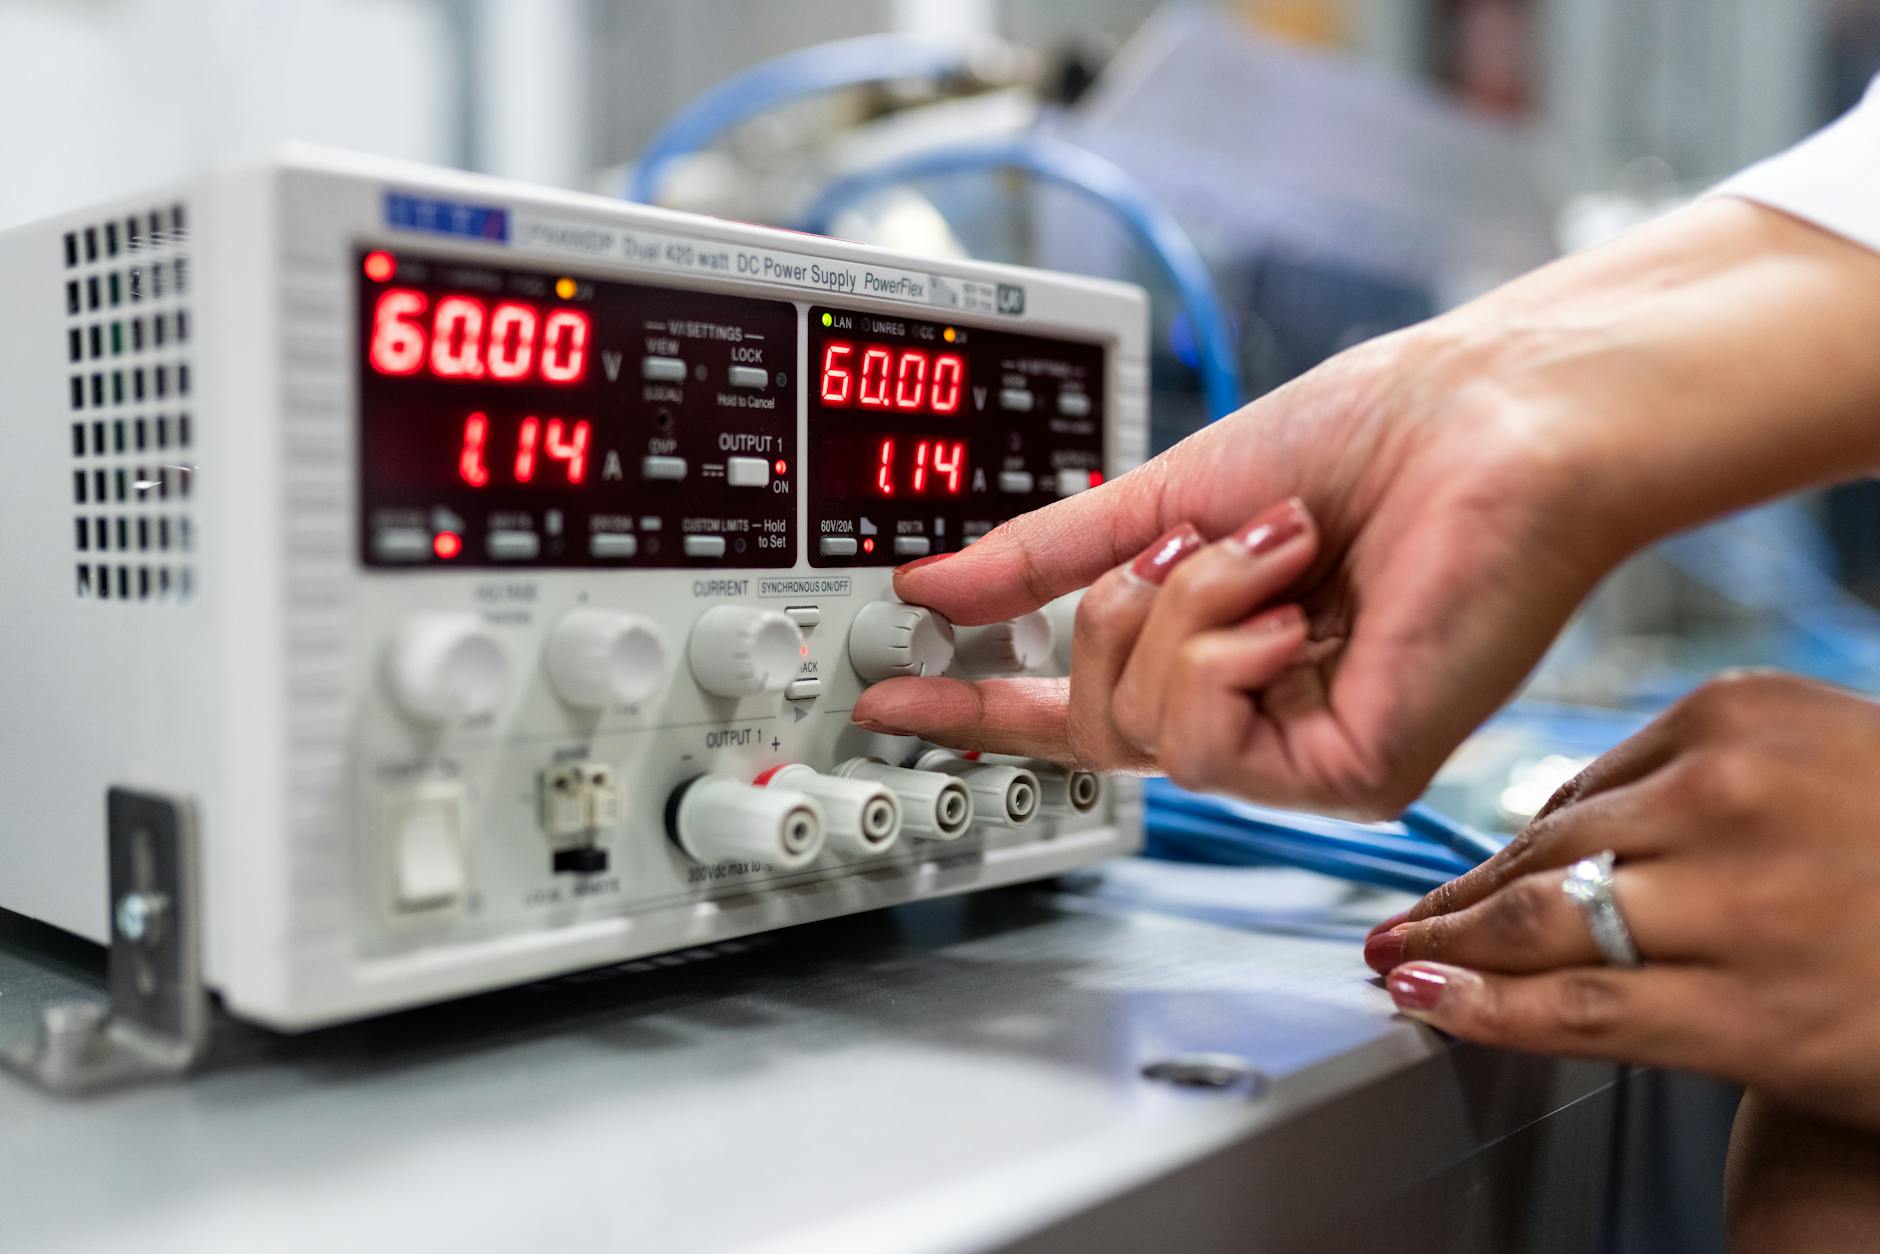 Electronics & Semiconductor →
  Metalworking & Fabrication →
 Also applies to End-of-arm tooling on robotic pick-and-place cells · Outdoor solar PV installation and field service
Every entry is a real product on this site — linked, not just named. Quote them on the same line item.

Cups are the wear item on the vacuum side — replaced on a 3-12 month calendar. Stock at least one full array replacement per active EOAT plate, plus a 30-day reorder cycle on the matching replacement-vacuum-cup SKU. An 8-cup plate replaced every 6 months = 16 units/year per plate.
Send us the application — a specialist routes you to the correct tier with a configured part. Lead-times and pricing returned within one business day.
—. We reply within one business day with pricing, lead-time, and configured parts.