DISTRIBUTOR-FIRST SUPPLY PARTNER · SINCE 1999 Live · Compressed Air System
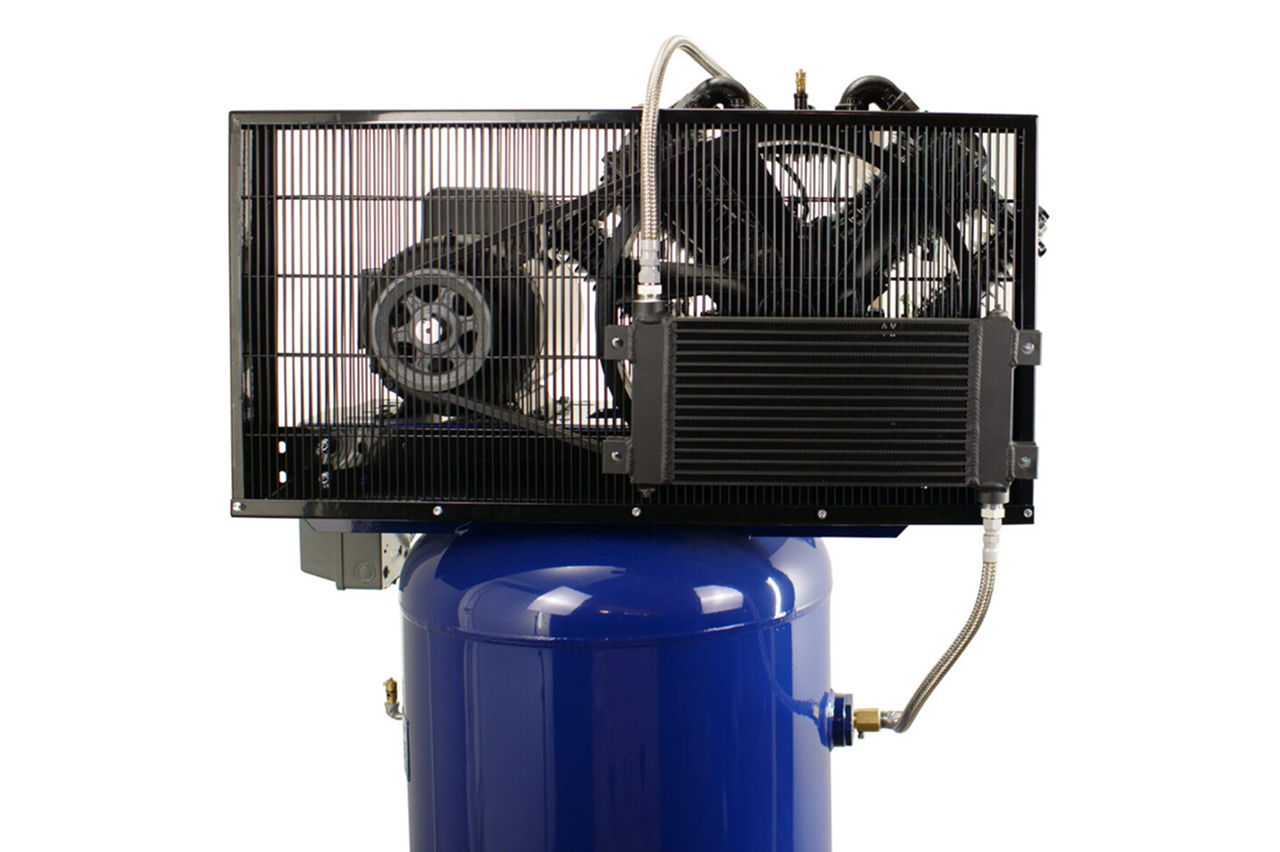
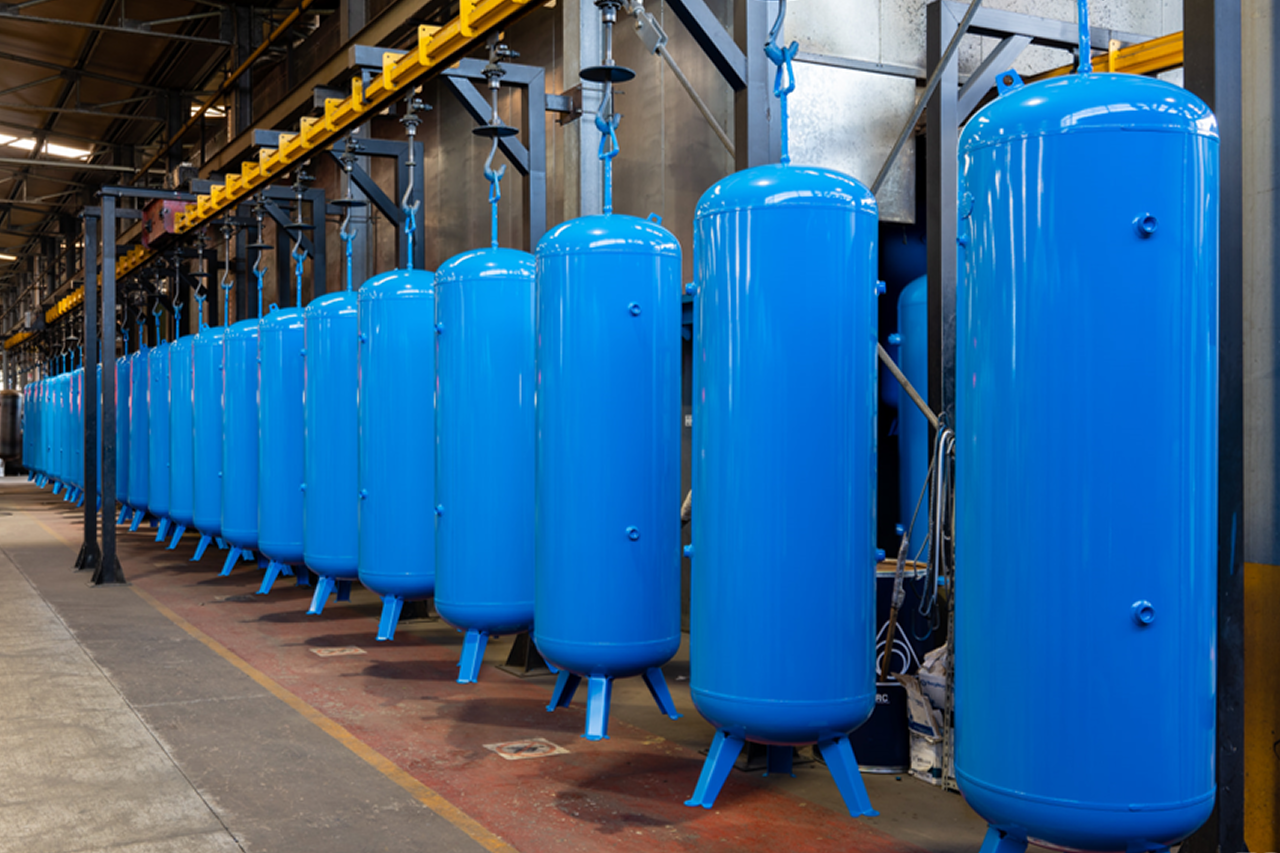
An aftercooler is the heat exchanger that cools hot compressed air the moment it leaves the compression element. Compression does mechanical work on the air, and that work shows up as heat — air leaves the airend at roughly 200-300°F or hotter, fully saturated with water vapor. The aftercooler drops that air back down toward ambient before it travels any further into the system. Cooling the air is what makes it a moisture-control device, not just a temperature device: as the temperature falls, most of the entrained vapor condenses into liquid water that a drain at the aftercooler discharge carries away. In the system, the aftercooler sits at the very start of the treatment layer — directly after the compression element and ahead of the wet receiver and the dryer. It is the first cooling stage and the first water knock-out. On most packaged industrial compressors it is built into the compressor enclosure, shares the cooling fan, and is specified and warranted as part of the compressor rather than chosen on its own.
Tips and pointers on when the aftercooler is the right diagnosis — and when something else in the train is the real failure. Scroll the strip →
Drops discharge from 200-300°F to within 15-20°F of ambient right at the compressor — the bulk of the entrained vapor condenses to liquid and drains at the source instead of riding the piping to the customer's tools.
Hands the dryer near-ambient inlet air — the condition the dryer was actually sized for. Without aftercooling the dryer sees inlet outside its rated envelope, dew point climbs, water carries to tools.
Water that drops at the aftercooler drain doesn't drop at low points in the distribution loop, at quick-disconnects, or at point-of-use FRLs — where it ruins everything downstream.
Air-cooled covers 90% of installs — no water supply needed, performance floats with ambient. Water-cooled for high-ambient compressor rooms over 100°F, enclosed spaces with no heat-rejection path, or sites already running a cooling-water loop.
The dryer was never the failure — it was fed inlet air outside its rated envelope. → Re-spec to a working aftercooler (clean fouled fins, add standalone if missing) before quoting a larger dryer that also can't cope.
Air-cooled performance degrades above 100°F ambient — discharge climbs, moisture knockout collapses. → Re-spec to water-cooled for foundries, glass plants, plastics injection, or any room running over 100°F.
OEM replacement cores run 3-5× the cost of an equivalent aftermarket retrofit with identical heat-exchanger fundamentals. → Re-spec to a standalone aftermarket unit on any failed integrated aftercooler past the warranty window.
From the machine spec sheet → to the part number. Answer what you know — leave the rest blank — and send.
Most distributors sell one brand per product type. SPC's 60-brand portfolio means every Product Type page surfaces three real options matched to how your customer is buying today. Pick the tier; the quote desk handles the cross-reference.
The aftercooler isn't glamorous. It's where the difference between a good install and a bad install actually shows up at the customer's wet tool.
Each industry below uses this product across the listed areas. Open an industry to see how it fits the rest of its system.
Also applies to Every modern industrial compressor install (integrated configuration) · Retrofits onto older reciprocating compressors · Custom-built skid systems and integrator builds · High-ambient compressor rooms (water-cooled) · Failed-integrated-aftercooler replacement
Every entry is a real product on this site — linked, not just named. Quote them on the same line item.
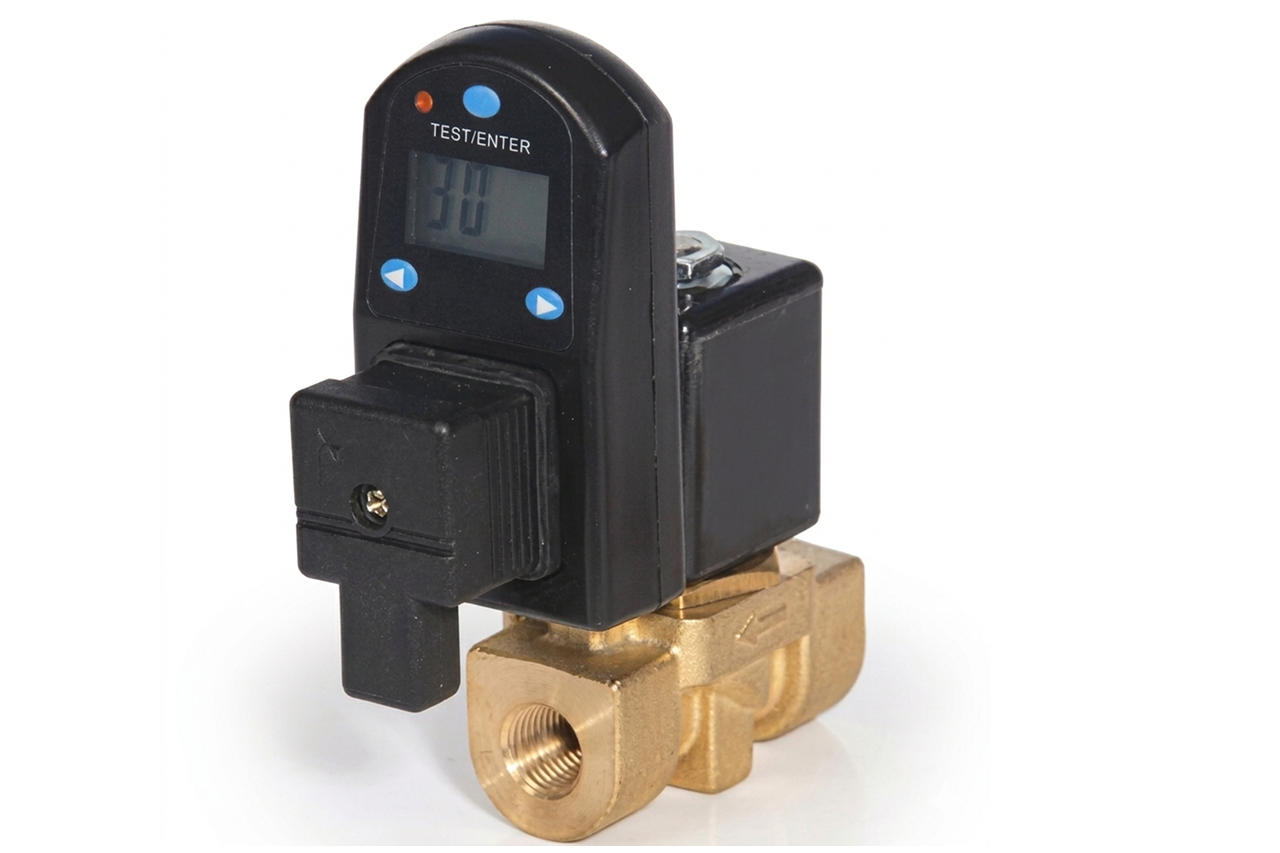

Stock spare electronic-timer drain valves at install — drain valves are the most-failed component on the aftercooler and annual or biennial replacement is industry-standard. One spare in the MRO crib means zero downtime when the drain fails.
Send us the application — a specialist routes you to the correct tier with a configured part. Lead-times and pricing returned within one business day.
—. We reply within one business day with pricing, lead-time, and configured parts.