DISTRIBUTOR-FIRST SUPPLY PARTNER · SINCE 1999 Live · Product System
SPC Company
Industry Leader · KELTEC
01What it is

Air/Oil Separator

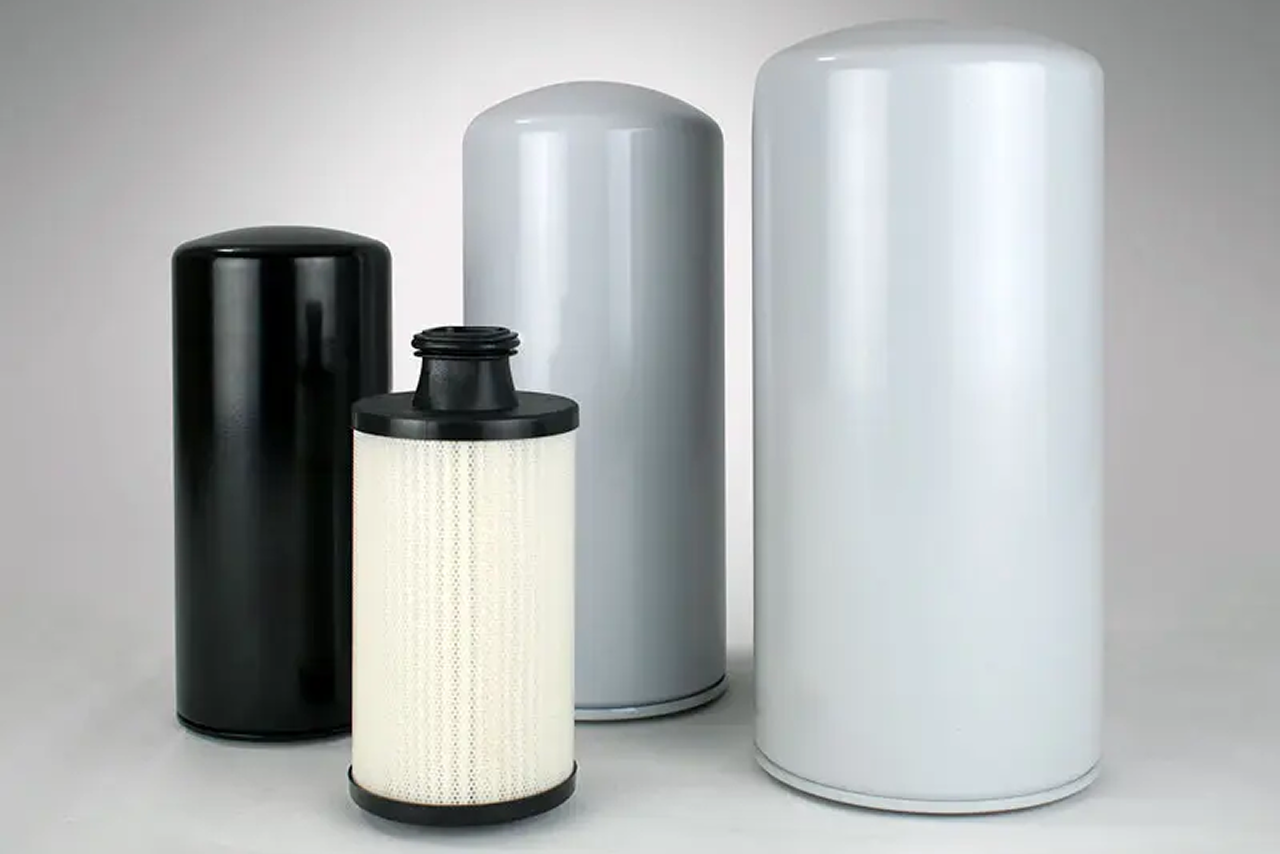
The air/oil separator is the internal coalescing element that strips entrained lubricating oil from compressed air before it leaves a lubricated rotary-screw compressor. Inside the compression chamber, oil is injected to seal, cool, and lubricate the air-end; on discharge, that oil leaves as a fine aerosol mixed into the air stream. The separator element — multiple layers of fine borosilicate glass-fiber coalescing media in a cylindrical housing inside the separator tank — catches those oil droplets, merges them until they are heavy enough to drain back to the sump, and lets clean air pass downstream. It is a scheduled consumable: the media gradually loads, pressure drop across it rises, and once it reaches the end of rated life it must be replaced or oil begins carrying over into the air system. Of all compressor service items it is the highest-cost and most frequently replaced, which makes it the anchor line of every annual service kit.

Real-world reference Representative air/oil separator
Air/Oil Separator — representative product photo
02Why it's needed

Why this matters.

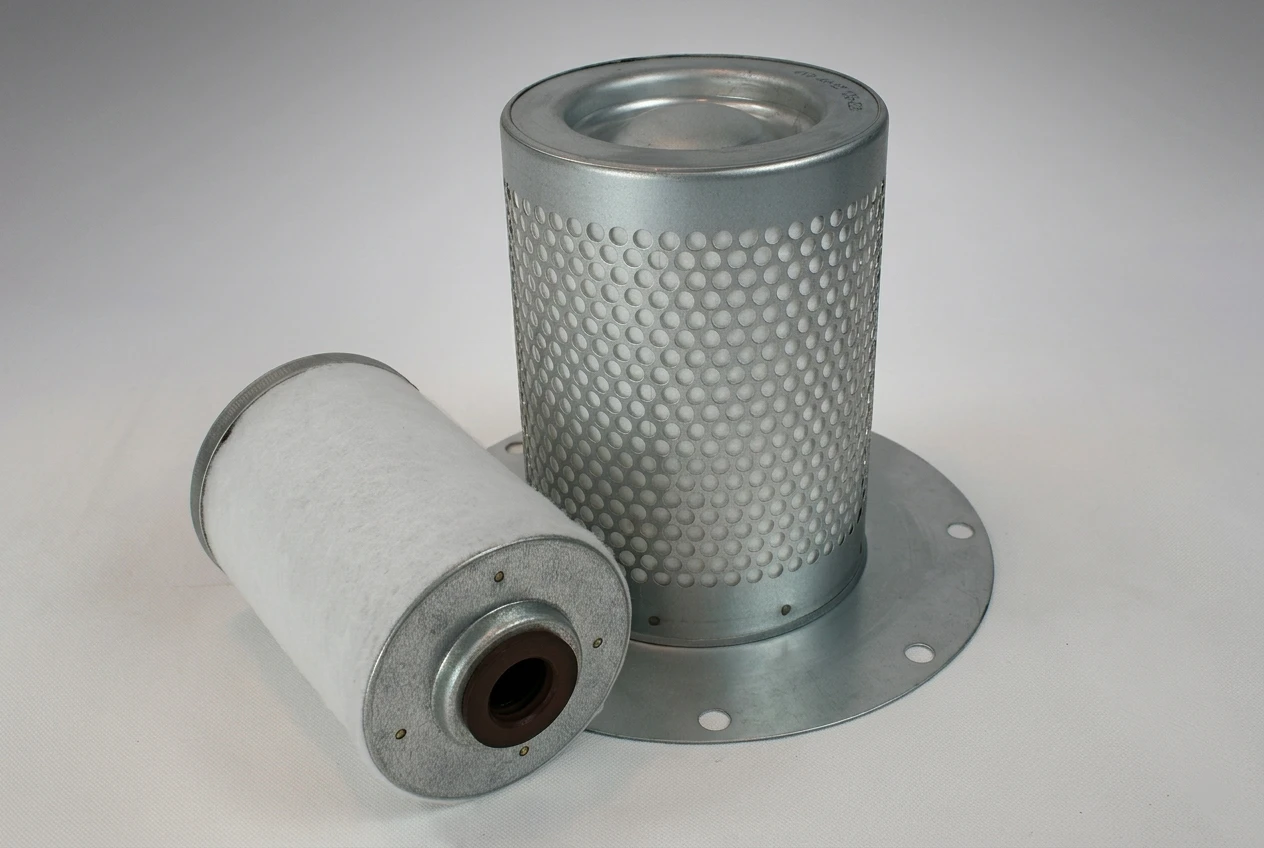
The anchor of every rotary-screw service kit — and where it doesn't belong. Scroll the strip →

01 · Key point
It strips injected oil back out.

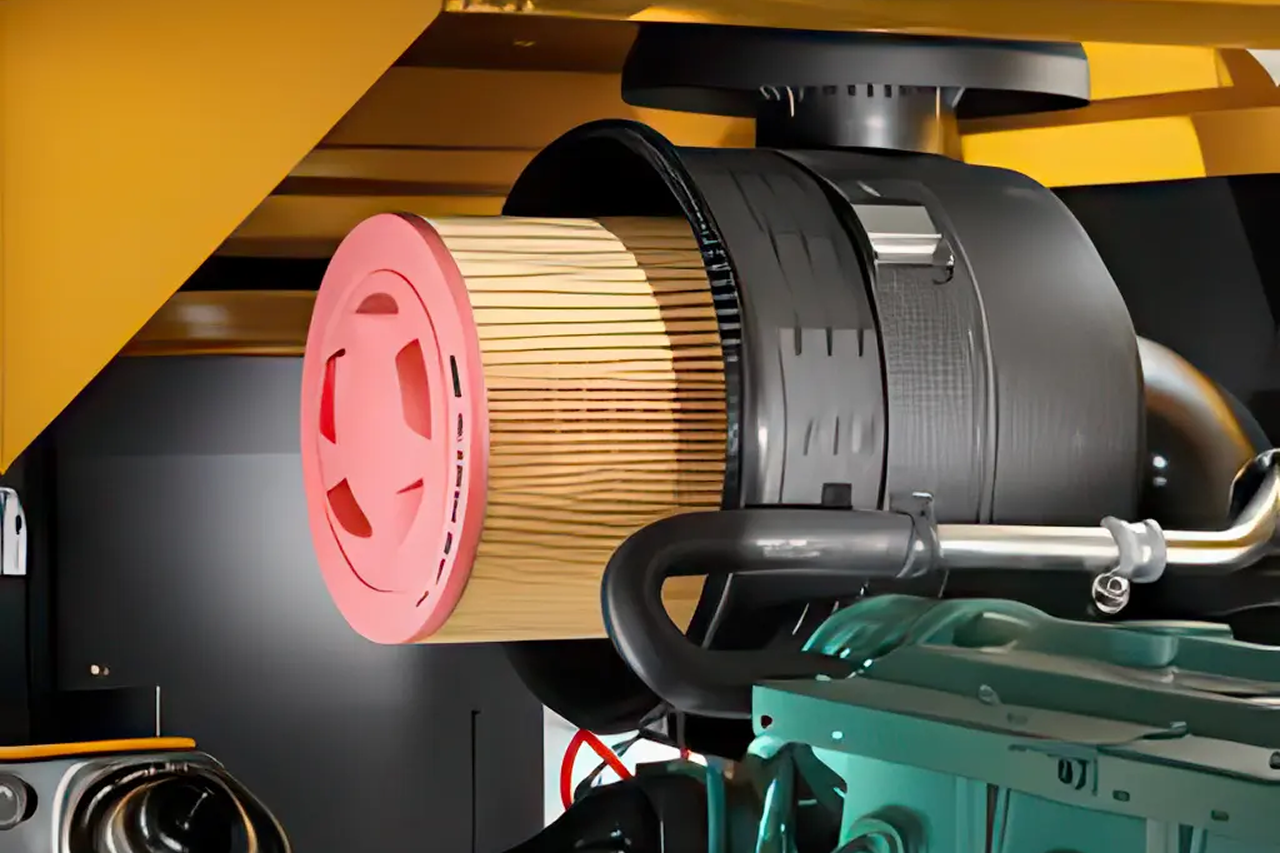
A 100 HP rotary-screw injects 3-4 gallons of oil per minute into the compression chamber. The separator gets discharge oil-in-air down to ~3 ppm or better — without it, every gallon ends up downstream coating the aftercooler, dryer, and point-of-use tools.

02 · Key point
It pays back in energy savings.

A loaded separator runs 12-15 PSI differential vs. 2-3 PSI new — and every 10 PSI of compression costs ~5% in energy at the wall. A separator 1,000 hours overdue costs more in extra electricity than a new element does to buy.

03 · Key point
It prevents air-end failure.

When DP gets high enough to overwhelm the drain-leg vacuum, oil stops returning to the sump, the air-end runs oil-starved, and the next failure is catastrophic air-end damage — by far the most expensive repair on the compressor.

04 · Pro tip
Replace on hours, calendar, or DP.

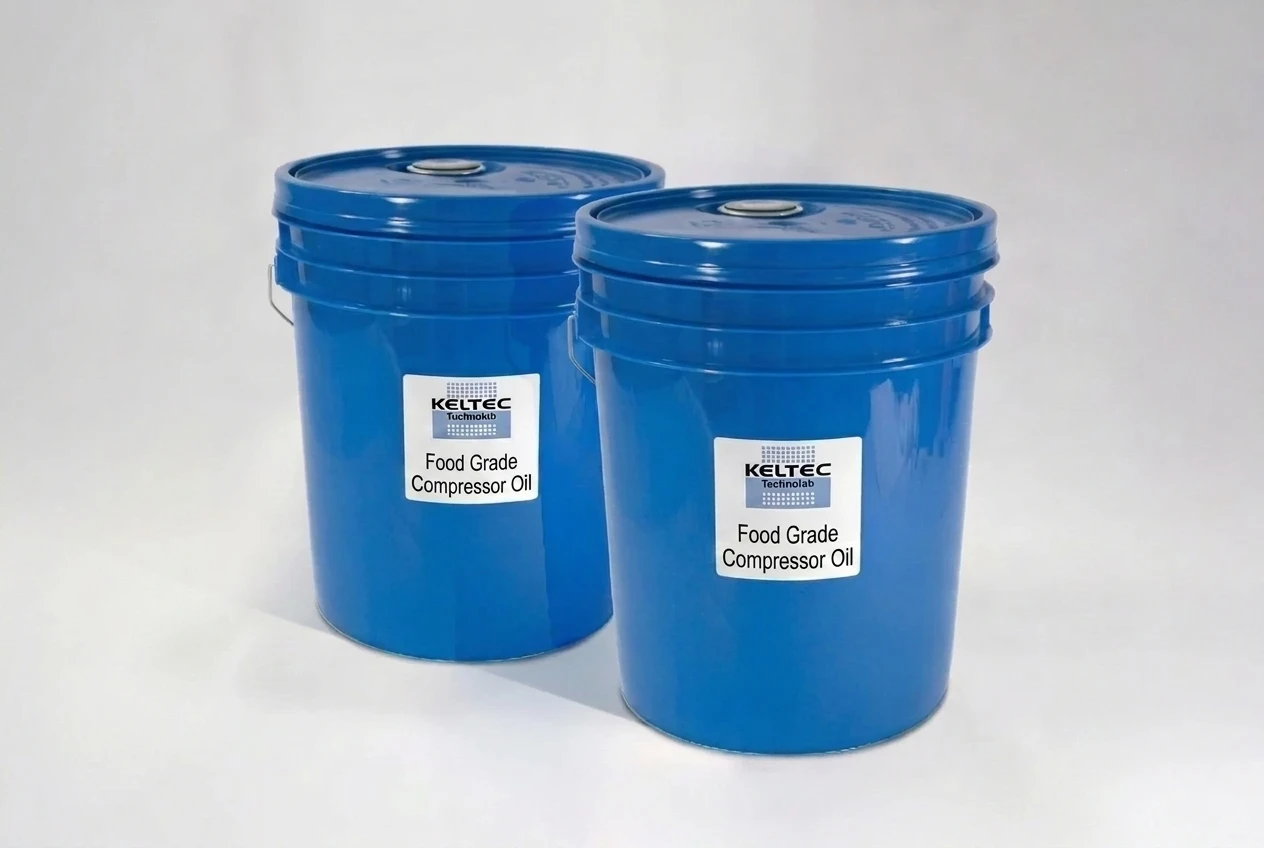
2,000 operating hours OR 12 months OR ~12 PSI differential, whichever first. Bundle the change with matched oil filter + synthetic oil + intake filter + coolant filter on one PM visit. One invoice, full annual reset, recurring-route lock-in.

05 · Where not to use
Reciprocating or oil-free compressors.

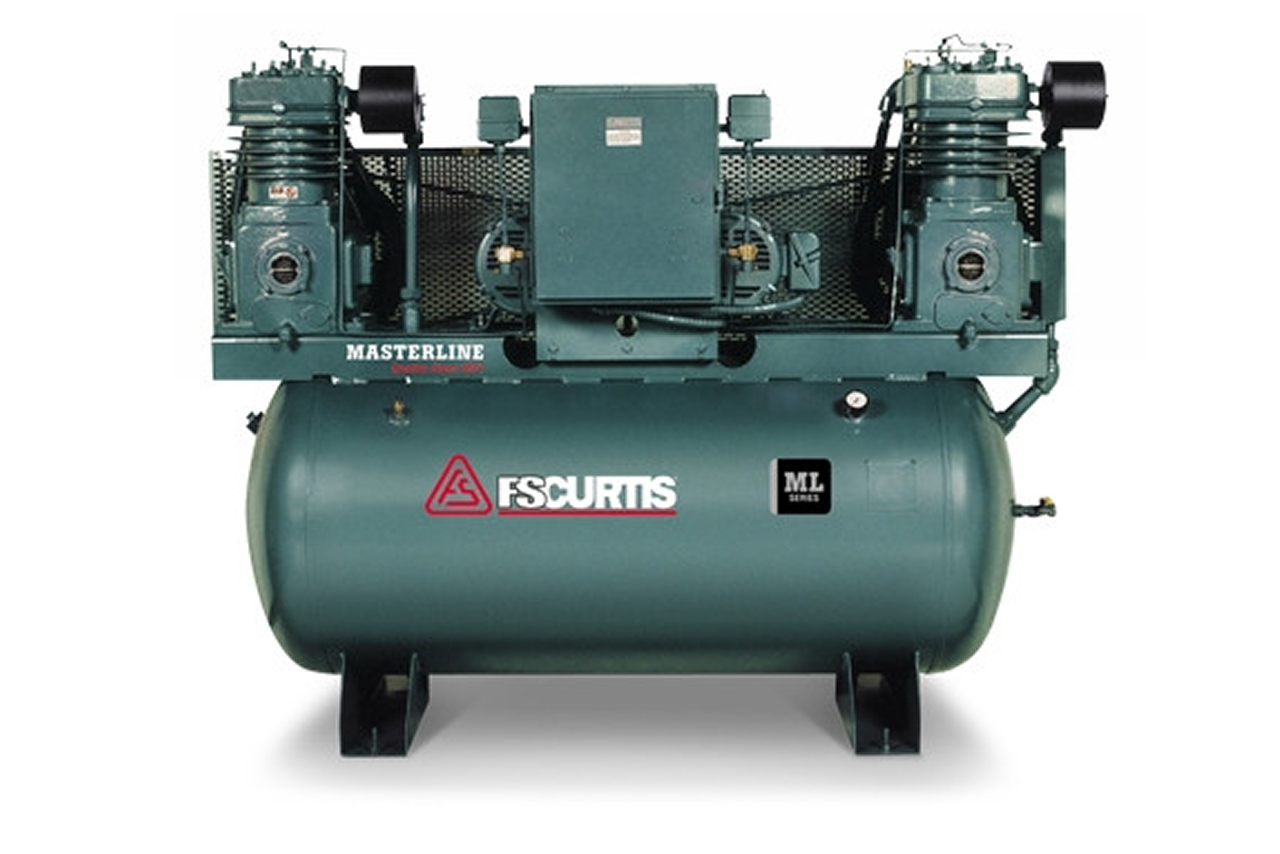
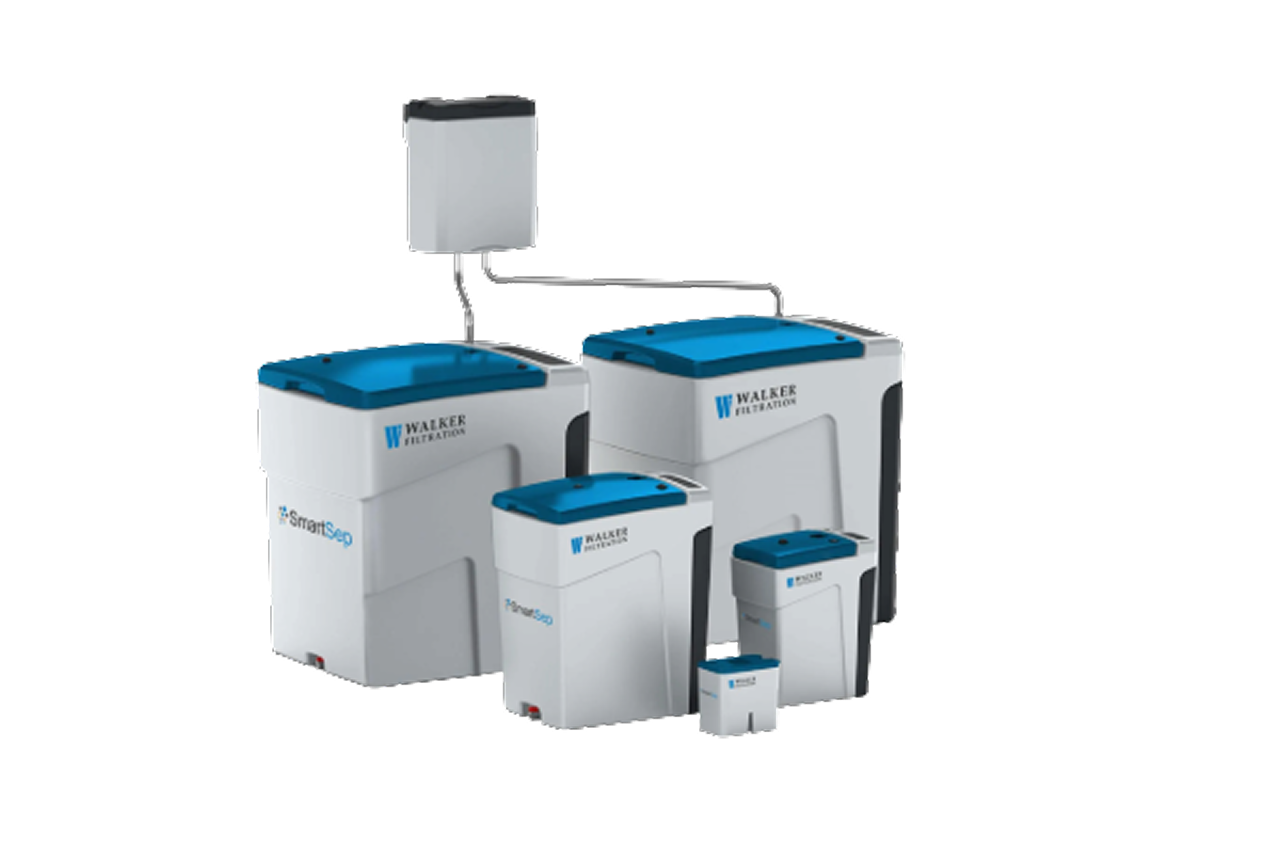
No oil injection means no separator — recip and oil-free scroll/screw don't carry one. → Re-spec to coalescing filter downstream of the compressor for any oil aerosol concerns; this is a rotary-screw-only consumable.

06 · Where not to use
Cross-reference unverified.

Same OD/ID with wrong gasket allows bypass and instant carryover. → Pull OEM part number + serial + measured dimensions and confirm OD, ID, height, and gasket against the OEM aftermarket equivalent cross before depressurizing. A wrong cross on the bench costs hours of downtime.

07 · Where not to use
Inside OEM warranty window.

Some OEMs void compressor warranty for non-OEM consumables during the warranty period. → Stay on OEM-genuine until warranty expires, then calendar the cross-reference reorder for the first post-warranty service. Don't compromise a $50K machine over a separator margin.

03Key selection criteria

What we need to spec it right.

From the machine spec sheet → to the part number. Answer what you know — leave the rest blank — and send.

01 · Input
All four off the nameplate together — drives the OEM aftermarket equivalent cross-reference. Serial number resolves model-year variations where OEMs change element OD/height across generations without changing the model name.
OEMs covered: Atlas Copco · Ingersoll Rand · Sullair · Quincy · Kaeser · Gardner Denver · Champion
02 · Input
Measure on the spent element or read the OEM spec. Confirms physical fit BEFORE depressurizing — a wrong cross discovered with the compressor open costs hours of downtime.
Verify against OEM aftermarket equivalent cross: OD · ID · Height · Gasket configuration
03 · Input
Pull from the maintenance log or operator. Determines urgency against the 2,000-hour / 12-month interval; differential pressure across the separator is the secondary trigger.
Triggers: 2,000 hours · 12 months · ~12 PSI differential (whichever first)
04 · Input
Synthetic may extend the service interval with periodic oil sampling. Affects the bundled-kit cycle and the oil-fill quote.
Standard mineral · Synthetic (PAO / polyglycol / diester) · Food-grade (NSF H1)
05 · Input
Bundle the separator with the rest of the annual rotary-screw kit — one PM visit, one invoice, full annual reset. Service-route customers convert easily to standing orders.
Separator only · + oil filter + oil · + intake + coolant filter (full annual kit)
06 · Input
1 per compressor; multi-unit shops = separate quote lines per machine to keep cross-references straight. Service-route fleets stock 1 spare per machine in the MRO crib.
1 per compressor · Fleet quote (separate line per machine) · + 1 MRO spare per installed unit

Need different sizes, colors, or quantities? Fill the form, add to quote, then fill again — each click is one quote line.

04Choose your solution tier  ·  core differentiator

Whatever your lever — spec, value, or price — SPC has the right brand.

Most distributors sell one brand per product type. SPC's 60-brand portfolio means every Product Type page surfaces three real options matched to how your customer is buying today. Pick the tier; the quote desk handles the cross-reference.

05How to sell this  ·  distributor talk track

The tier conversation closes the deal. The cross-reference catalog wins the next one.

The separator is the anchor of the rotary-screw service kit. Whoever's changing the customer's oil filter and oil should be changing the separator on the same calendar — and whoever does, owns the customer's service spend going forward.
The SPC difference · how distributors actually buy

The 30-second positioning

Air/oil separators are the textbook aftermarket cross-reference sale. The customer's compressor came from one of a dozen OEMs (Atlas Copco, Ingersoll Rand, Sullair, Quincy, Kaeser, Gardner Denver, Champion); the customer is used to ordering replacement separators from that OEM at OEM list pricing, often with a service-tech visit attached. SPC's play is the cross: an OEM aftermarket equivalent element with the same borosilicate media specification, the same OD/ID/height/gasket as every major OEM separator, at materially lower price (typically 40-60% of OEM list). Customer pays less, performance is identical, SPC captures a recurring line that compounds across the customer's entire compressor fleet.

Tier: Industry Leader tier in the aftermarket separator category means borosilicate glass-fiber media on the same engineering spec as the OEMs, a full cross-reference catalog covering essentially every rotary-screw compressor in the SPC addressable territory, USA manufacturing, and full documentation including TÜV-type approval on the media construction. Import-tier separator crosses exist at lower prices, but the quality variance is significant and the customer impact when it fails is severe (air-end damage). SPC leads with Industry Leader tier and stays there; OEM separator is the only premium-priced alternative worth discussing for warranty-sensitive customers (new compressor still under OEM warranty).

The consultative move — quote the bundle, not the element. Don't sell separators standalone unless the customer specifically asks. Every separator change should attach: OEM aftermarket equivalent separator + matched oil filter + 5-gallon pail or drum of synthetic compressor oil + intake filter element + coolant filter if water-cooled. One PM visit, one invoice, full annual reset.

Replacement interval: 2,000 operating hours OR 12 months, whichever first. Many compressor packages have a built-in separator DP gauge; replace at ~12 PSI differential.

Customer cue → talk move

"Paying OEM list for separator with 3-week lead time"
Cross-reference is the answer. Get the OEM part number, look up the OEM aftermarket equivalent, quote at materially lower price with same-day or next-day delivery from stock.
"Oil showing up in the compressed air system"
First diagnostic: when was the separator last changed? Oil carryover is almost always an overdue separator, a separator with a misseated gasket, or a plugged drain leg. Replace the separator first; 90% of the time that fixes the carryover.
"How do I know when to change the separator?"
Two indicators: pressure differential across the separator (replace at ~12 PSI) and operating hours (2,000 hours / 12 months). The hour or calendar trigger comes first on most installs.
"Fleet of compressors from different OEMs"
Bundled annual service kit play. Get nameplate data and OEM separator part number for each machine; quote an OEM aftermarket equivalent cross for each plus oil/oil filter/intake filter on the matching calendar.
"Customer's compressor is still under OEM warranty"
Use OEM-genuine separator until warranty expires; some OEMs void warranty for non-OEM consumables during the warranty period. Calendar the cross-reference reorder for the first service after warranty ends.
"Customer running the same separator for 3 years"
It's loaded. Customer is paying for it in extra compressor energy and is one bad pressure spike away from a flooded separator and a damaged air-end. Quote separator + oil change + intake filter as a single service event.
"Replacement separator + oil change + oil filter on the same visit"
Yes, this is the bundle. OEM aftermarket equivalent separator + matched oil filter + synthetic oil + intake filter element + coolant filter if water-cooled. One PM visit, one invoice, full annual reset.
06Where it's used

Industries served.

Each industry below uses this product across the listed areas. Open an industry to see how it fits the rest of its system.

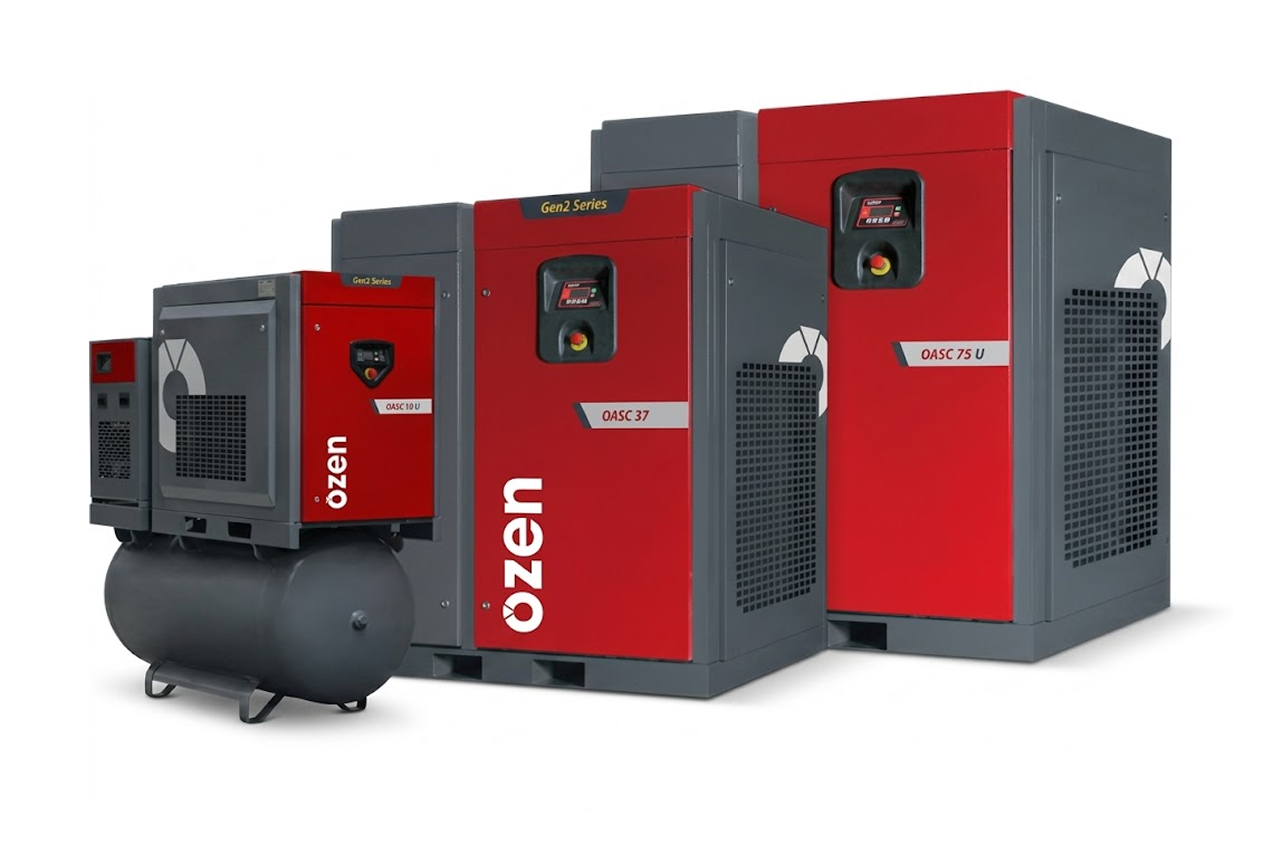
Also applies to Lubricated rotary-screw compressors, 5-25 HP commercial range · Industrial rotary-screw compressors, 25-100 HP plant range · Large industrial rotary-screw compressors, 150-500+ HP · Variable-speed rotary-screw compressors (VFD) · Sullair / Quincy / Champion legacy machines past OEM warranty · Service-route customers with multi-machine fleets · Compressed-air audits and efficiency-upgrade projects

09Install · 8 critical steps

The things that matter on the first install.

Step 01
Confirm the cross-reference before depressurizing the compressor
Pull the OEM separator part number from the existing service log or the spent element. Cross-reference to the OEM aftermarket equivalent in the catalog or via the online cross-reference tool. Verify OD, ID, height, and gasket configuration match before scheduling the service — a wrong cross discovered after the compressor is depressurized costs hours of downtime.
Step 02
Depressurize the compressor fully and lock out
Stop the compressor, vent the receiver and separator tank to 0 PSI, lock out and tag out the electrical disconnect. The separator tank holds high-pressure hot air and oil; opening it under pressure or while hot is a serious injury risk. Wait for the tank to reach safe handling temperature (below 120°F) before opening.
Step 03
Drain the separator tank to the working oil level
The separator element sits in the upper portion of the separator tank; oil level needs to be below the element before removing the cover. Drain to the marked operating level — do not drain the entire tank (full drain costs an extra 4-12 gallons of new oil to refill). Capture drained oil per the customer's waste-oil disposal plan.
Step 04
Remove the separator tank cover and lift out the spent element
Cover bolts come off in a star pattern. Spent elements are heavy with retained oil — support the weight while lifting clear, and have an oil-absorbent pad or drip pan under the element to catch residual oil. Inspect the spent element: significant black or burnt-smelling discoloration indicates the compressor has been running hot or the oil has been past service life.
Step 05
Inspect the separator tank internals
Look for sludge or varnish on the tank walls (oil past service life), water or emulsified oil at the bottom (cooler problem letting moisture into the oil), or carbon buildup at the air-end discharge port (running hot or wrong oil grade for the operating temperature). Address upstream issues before installing the new element — a clean separator in a sludged tank fails fast.
Step 06
Install the new OEM aftermarket equivalent element with fresh gaskets
Use the matched gasket kit. Seat the element straight (no canting), torque the cover bolts in a star pattern to the OEM-specified torque value (a torque wrench is the right tool — over-torquing crushes the gasket, under-torquing leaks). Verify the drain leg from the bottom of the element back to the sump is clear and properly aligned; a blocked or misaligned drain is a common cause of oil carryover even on a new element.
Step 07
Refill oil and bring the compressor back online
Top up the sump oil to the operating mark with the matched synthetic compressor oil. Do not mix oil grades or brands across a service. Start the compressor, let it reach operating temperature, check for leaks at the separator cover and drain leg, and confirm differential pressure across the new separator is at the expected new-element value (2-3 PSI at full load). A high reading on a fresh element points to incorrect seating, wrong cross, or downstream restriction.
Step 08
Document the service and reset the calendar
Record install date, OEM aftermarket equivalent part number, OEM cross-reference, oil grade and quantity, intake filter and oil filter part numbers, and the next replacement date (12 months out OR at 2,000 operating hours, whichever lands first). Stock one spare separator in the customer's MRO crib; for service-route customers, schedule the next visit before leaving site.
10Troubleshoot · top failures

Most returns trace to one of these causes.

Symptom
Most likely cause
Fix
Oil carryover into the compressed air system (visible oil at drains, oil in the dryer, oil-stained tools at point of use)
Separator element overdue for replacement (DP high, drain flooded), gasket not seated (oil bypassing the element), drain leg plugged (oil collecting on the wrong side of the media), or — less commonly — wrong element cross-reference installed (correct OD/ID but wrong gasket, allowing bypass).
Inspect separator differential pressure first — anything over 10-12 PSI confirms an overdue element. Replace with a verified OEM aftermarket equivalent cross and fresh gaskets, seated to OEM torque spec. Verify the drain leg is clear during install. If carryover persists after a fresh separator with verified install, suspect downstream coalescing filter is itself saturated and re-entraining oil — change the downstream filter.
Pressure differential across the separator rising faster than expected (10+ PSI in months instead of a year)
Compressor running hotter than design (poor ambient ventilation, fouled aftercooler), wrong oil grade for the operating temperature (oil degrading and depositing on the separator media), water contamination in the oil (emulsifying and clogging the media), or excessive dust loading from a degraded intake filter contaminating the oil.
Check air-end discharge temperature against the compressor's rated range. Verify oil grade against OEM recommendation. Test oil for water content if the customer is in a humid climate. Inspect intake filter; if heavily loaded, replace and bump media grade. Address the root cause first — a new separator on a hot or contaminated machine loads just as fast as the one it's replacing.
New separator installed but DP reading is unexpectedly high at first start
Element seated incorrectly (canted, gasket misaligned), wrong cross-reference (correct OD/ID but different internal media density), or downstream restriction in the discharge piping reading back as separator pressure drop.
Depressurize, open the cover, remove and reseat the element with fresh gaskets. Verify the OEM aftermarket equivalent cross one more time. If reseating doesn't resolve, isolate the separator from downstream — disconnect compressor discharge and verify DP across separator alone is at expected new-element value. If still high, the cross is wrong.
Sump oil level dropping faster than expected, requiring frequent top-up
Oil carryover the customer hasn't noticed yet (sump is feeding the downstream air system through a failing separator), external leak at the separator cover or drain leg gaskets, or oil consumption from worn bearings / shaft seals on the air-end (separator is fine, problem is mechanical).
Check downstream for oil first (drain points, aftercooler, dryer) — this confirms or rules out separator carryover. Inspect cover and drain leg gaskets for external leaks. If no external leak and no carryover, the air-end needs internal inspection — bearing or shaft-seal wear is rebuild territory, not a service-parts issue.
Burnt smell or visible carbonization on the spent separator element at change-out
Compressor running too hot (air-end discharge above the oil's service ceiling), wrong oil grade (mineral oil in a synthetic-spec application or vice versa), oil change interval too long (oil past its useful life and oxidizing in service), or oil cross-contaminated (different brands or grades mixed during a previous service).
Verify oil grade against OEM spec. If the oil is correct, check the air-end discharge temperature sensor and aftercooler performance. Customers running synthetic on long intervals (some claim 8,000 hours) without sampling are gambling — recommend periodic oil sampling every 1,000-2,000 hours, especially in hot or humid environments.
Compressor short-cycling or unloading frequently after a separator service
Service technician left a valve out of position (sometimes the bypass or test valve), separator cover not properly torqued causing slow leak, intake filter dust contamination during the service that's now loading the new element, or downstream demand pattern coincidentally changed since service.
Walk the compressor's air-circuit checklist post-service: minimum and maximum pressure setpoints, unload valve operation, intake filter seating, separator cover torque, drain valve position. If all are correct, install a temporary DP gauge across separator and oil filter to confirm both are in expected ranges.

Get the right air/oil separator on quote in 24 hours.

Send us the application — a specialist routes you to the correct tier with a configured part. Lead-times and pricing returned within one business day.

Request a quote